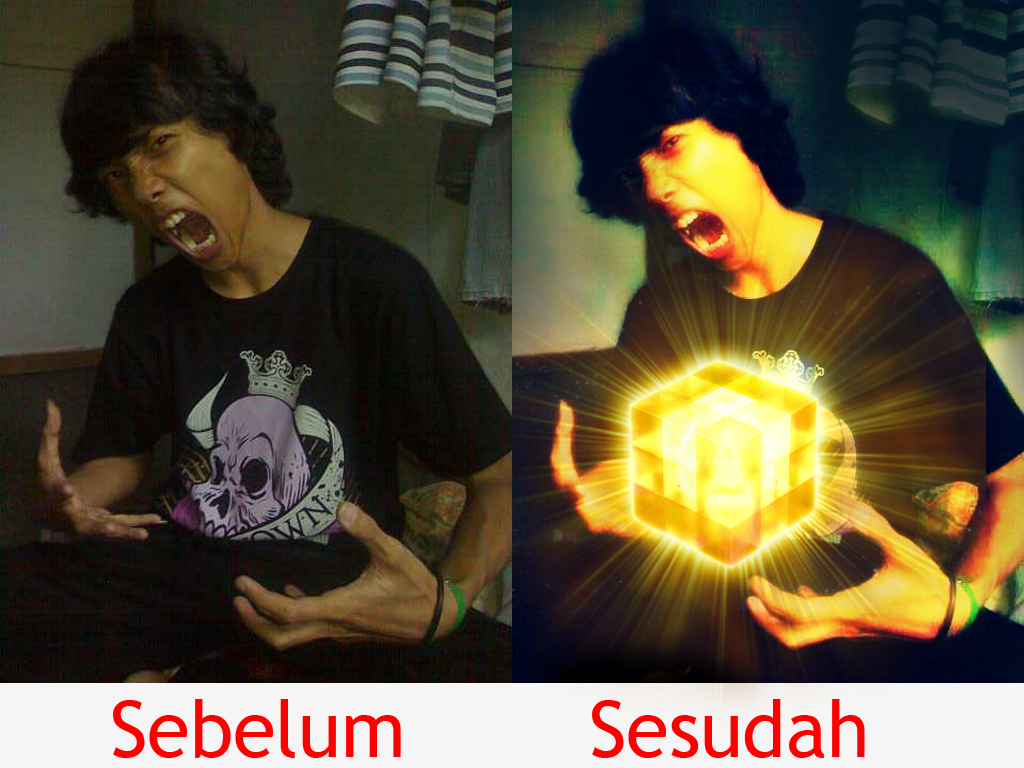
Hello, meet again in ndesendua. Here I will share with you, how tocreate light effects on photos. Here I will use two software, that isAdobe Photoshop CS3 and Photoscape.
First, we use Photoscape first to set light to the photo to make it easier to edit.
Click the "EDITOR" in the menu bar Photoscape. The display will beas below.
We take photos to be edited. Choose from your directory. Thenselect your Picture at the bottom of the directory.
First, we select "Backlight" on the bottom of the edit menu, find andorganize themselves so that images look bright.
Picture will be brighter like this.
Then, we select the "Filter" -> "REGION (OUT OF FOCUS)"
We choose "DEEPEN" that picture was dark outside the focus area.You can adjust the Level, Size and Feather your own.
The picture will look like this.
Next we select the "Blom".
There will appear a smooth blur, and color will be even brighter withcrah we set Level, Blur and Contrast.
We give effect to the photo film. Here I use CrossProcess-High withmemlilih "FILTER" -> "FILM EFFECT" -> "HIGHCROSS-PROCESS"
The picture will look like this, then we save.
Editing with Photoscape up here, and we continue to edit inPhotoshop. Here I just add the object image that is a rubik I editas well.
We open the image Photoshop.Open already been edited inPhotoscape and we will combine the images. Make sure the imagelayer is unlocked, if locked simply double click on the Layer. We use the "Move Tool" or "V" on the keyboard. Drag the image that we willincorporate into the picture.


0 komentar:
Post a Comment